How to enable 2FA on JumpCloud
Before you begin, you will need:
-
- Your JumpCloud password already setup from the initial JumpCloud Invite.
- JumpCloud Protect installed on your smartphone.
- An authenticator app installed on your smartphone, such as Google Authenticator, Microsoft Authenticator, 2FAS, or Duo Mobile.
- If you your company uses Microsoft email or 365 apps, you may need to complete setting up your JumpCloud account and 2FA before being able to check email or use Microsoft Office programs.
-
Step 1. Set up JumpCloud Protect.
For a video guide, go here.
1. In a browser, login to JumpCloud at console.jumpcloud.com.
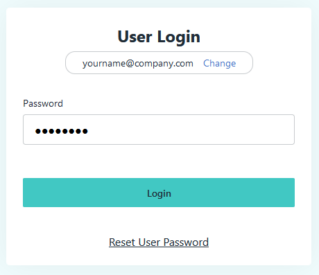
2. Click on the “Security” option on the left.
3. Click on “Enroll Device”.
4. On your smartphone, find and open the JumpCloud Protect app. The display name is simply “Protect”, and it should have this logo:
5. Back in the browser, click the “I Have the App” button.
6. In the JumpCloud Protect App, if you haven’t set up an account yet, you should see this screen. Click on “Skip”.
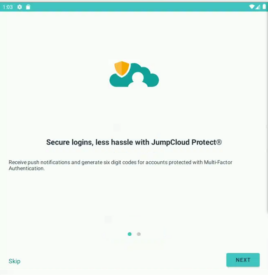
If you have already set up an account, click on the + button on the lower right to add a new account.
7. Click on “Get Started”.
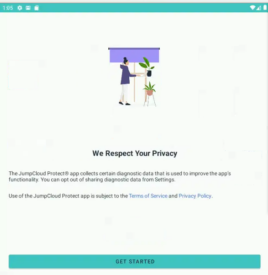
8. Click on “+ Add Account”.
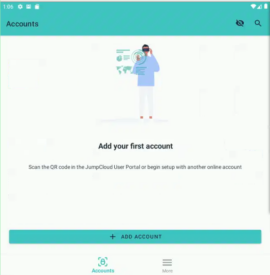
9. In the browser, click on “I Have The App” to display the QR code.
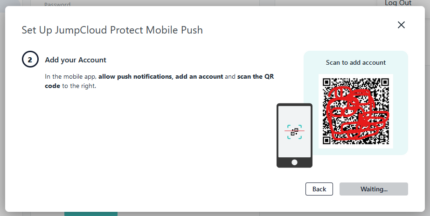
10. On your phone, allow Protect to use the camera, and hold your phone up to the browser screen to scan the QR code.
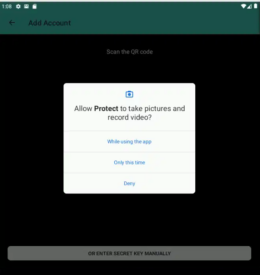
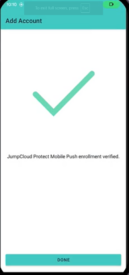
11. Wait for the account to finish adding, and the app and webpage to update. You should get a check mark in the app and a Done button to confirm it has completed.
The browser will also update to show it has completed setup.
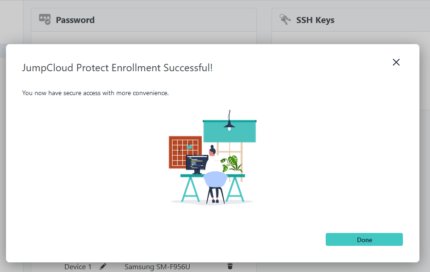
12. Click Done and the webpage should now list the mobile device where JumpCloud is set up.
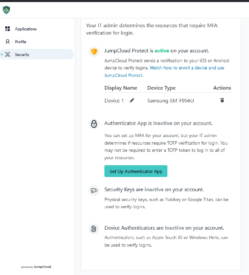
Step 2. Set up a backup 2FA method.
Advantage always recommends having multiple 2FA methods in place in case you ever lose access to one of them. These instructions cover Bitwarden password manager (which includes 2FA as a paid feature), but are broadly applicable to other authenticator programs/apps.
1. In the browser, click on the “Setup Authenticator App” button.
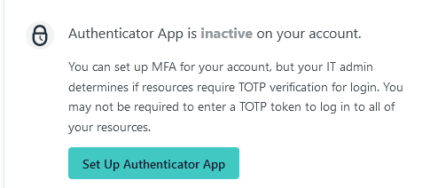
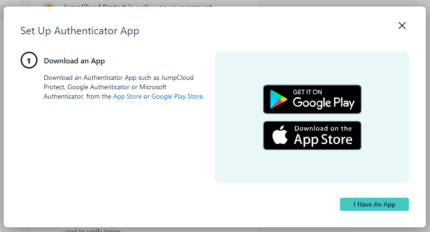
2. Click on “I Have An App”.
3. If you have the Bitwarden browser plugin (also available on some other authenticator app plugins), you can open the entry for JumpCloud and click the camera icon to scan the displayed QR code.
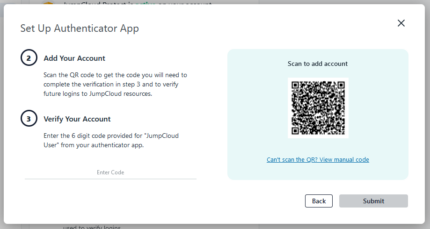
* If you are not able to scan the QR code, click the link to view the manual code. Then copy the text into the 2FA section of your authenticator app. It may also be referred to as “MFA”, “Authenticator Key”, or “TOTP”, depending on the app.
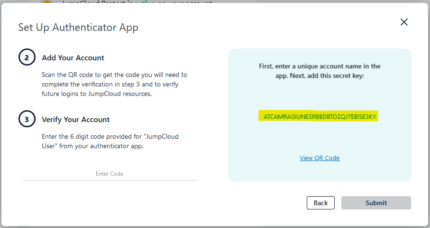
4. Once the 2FA code has been set up in your entry, save the changes and a 6-digit code should be displayed.
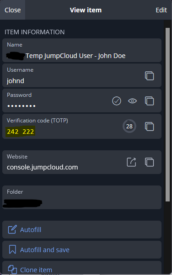
5. Type/paste that code into the browser prompt, and click Submit.
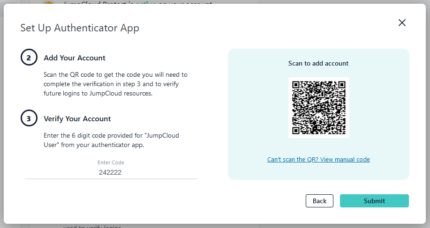
6. You should get a confirmation of successful enrollment. If you get an error, check if the 6-digit code has passed the 30-second timeout. If it shows a new number, try that.
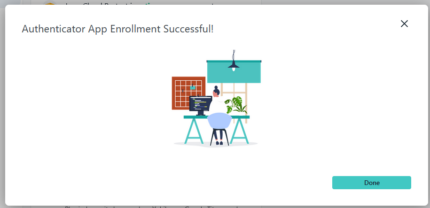
7. The website should now show you are Active with both JumpCloud Protect and an Authenticator App.
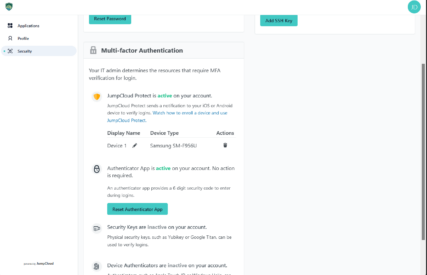
Congratulations! You’re all set up!
How to Log in to JumpCloud with 2FA
Depending on your company’s settings, you should typically not be prompted for 2FA when you are logging in from a company device at your office. For personal devices or those off-site, you will be prompted for 2FA as an added security measure.
1. Open a browser and go to console.jumpcloud.com. Log in with your email and password.

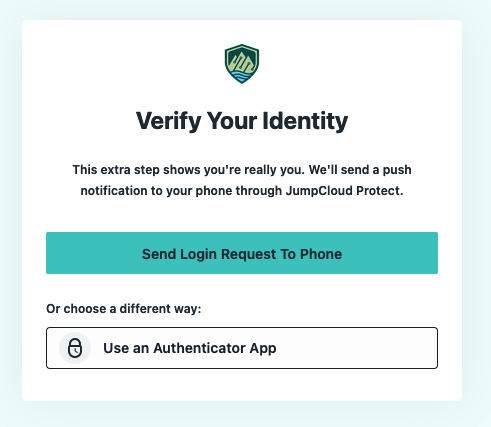
2. Click on “Send Login Request To Phone”.
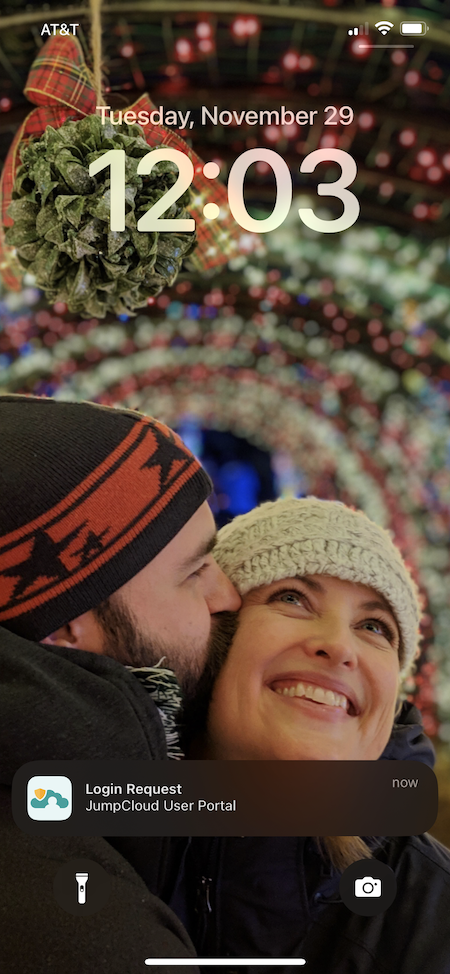
3. On your phone (iPhone displayed below) click on the notification bar or launch the JumpCloud Protect App.
4. Click on “Yes, Approve” and complete any verification requirements (scan a fingerprint, face ID, etc.) as needed. 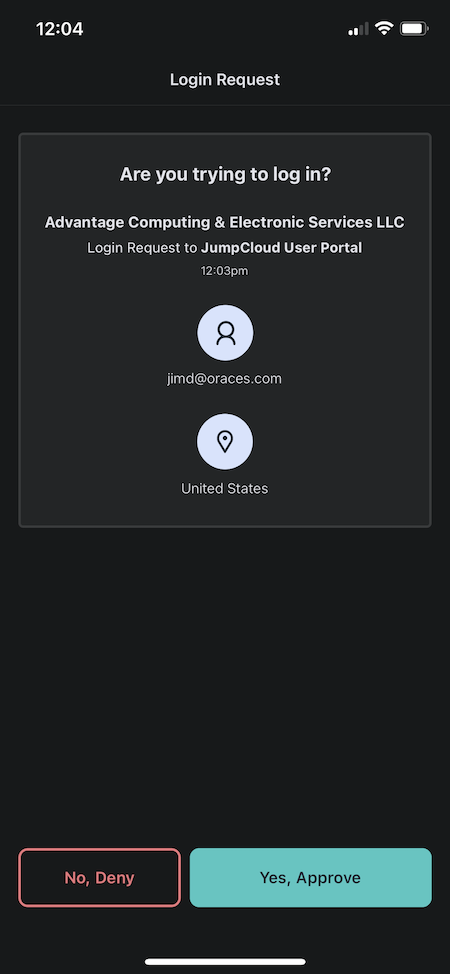
5. A second or two after the phone confirmation has been completed, the browser website will finish logging you in.
